
Simple steps to shoot stars like a PRO
Many of us have found ourselves staring up at the night’s sky in awe, looking up at the millions of stars. If you're fortunate enough to be away from a city and any other forms of light pollution, then the amount of stars that fill the sky is crazy. One of my favourite things to do when out on an adventure is to shoot the sky at night. With my photography, one of the most common questions I get asked is ‘How do you shoot astrophotography shots?’ So I have decided to try and sum it up in a blog for everyone. This is my method and knowledge summed up to try and help you next time you're out and in a position to shoot the night’s sky.
Get away from the light!

Yep, as far away as possible the better. Bright city lights cause a lot of light pollution and can be seen for miles. Also avoid shooting around a full moon - it’s so bright that you can’t pick out the detail in much of the sky.

So, now that you are in an awesome spot and have a great view of the sky, what do you need most? Equipment.
What do you need?
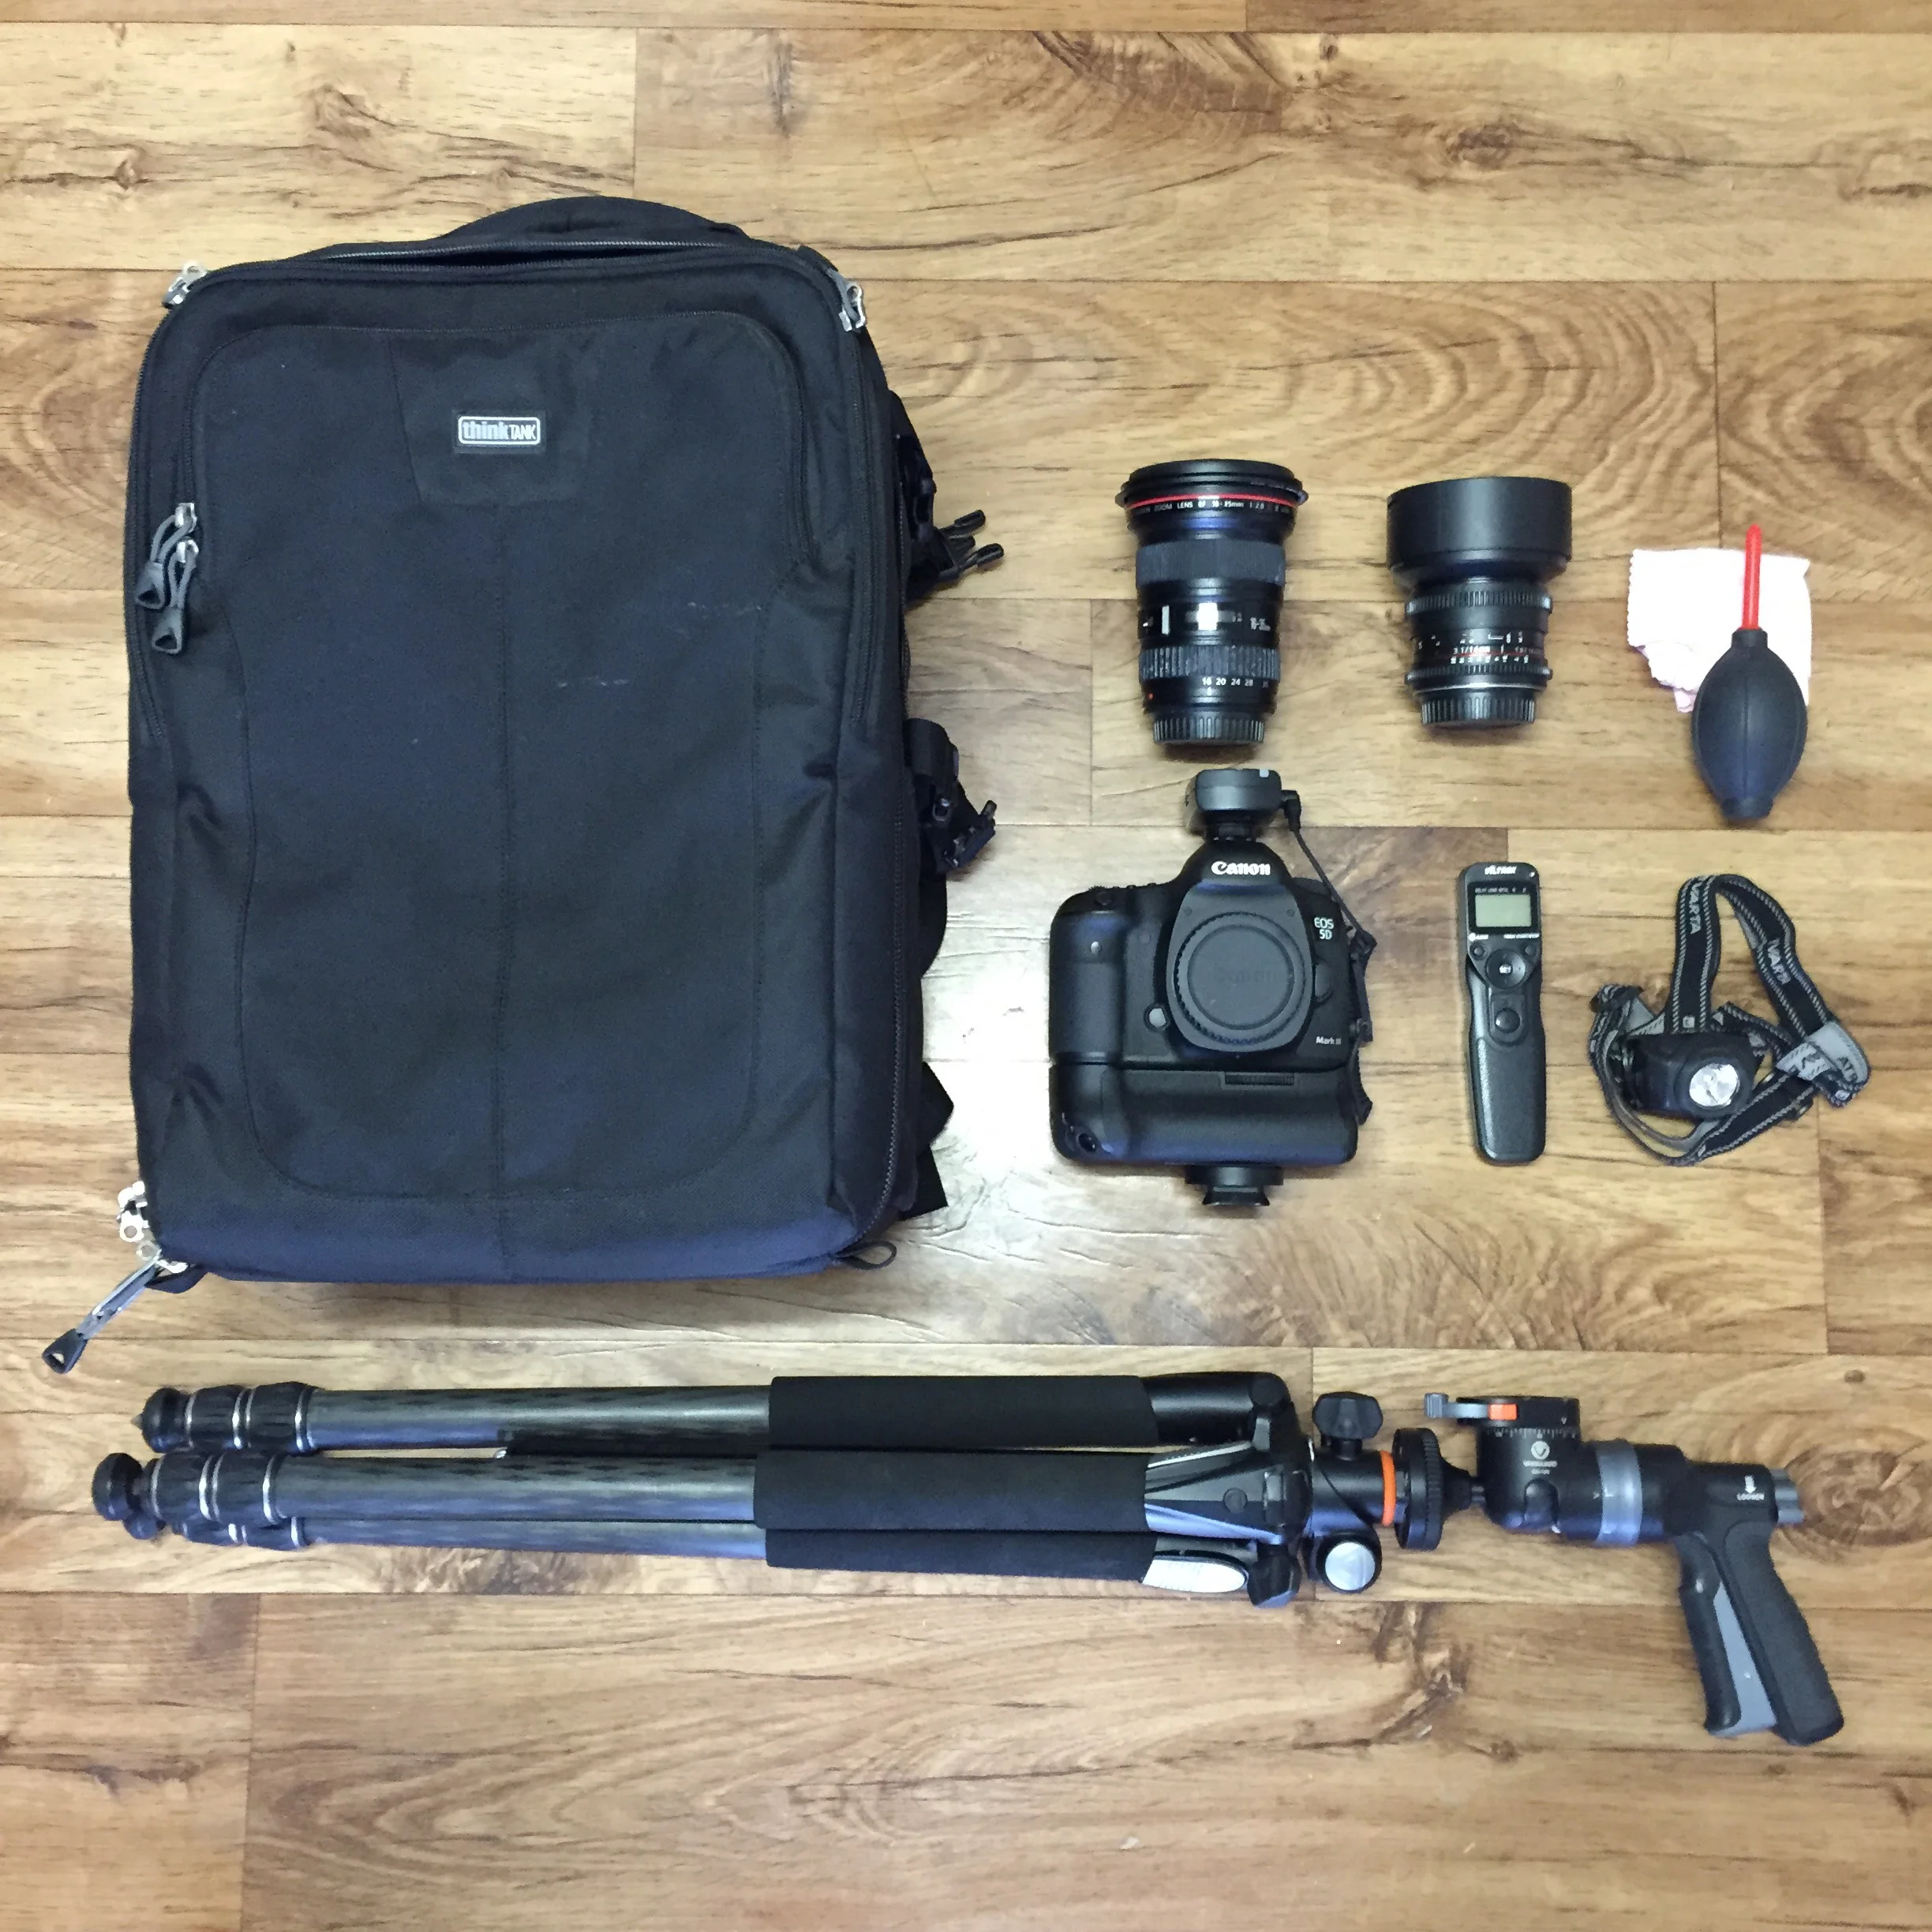
Most importantly you need a fairly decent DSLR. I’m talking anything except for the very basic entry level ones and slightly older models. Anything that has an ISO speed of 3200/6400 will do the trick.
Secondly, you need a suitable lens. As wide a focal length as possible with as wide an aperture as possible. For instance, I use two lenses. A 14mm f2.8 and a 16mm f2.8. Shoot with the most suitable lens you have.

A tripod is your next priority, it certainly makes life easier. I don't know anybody that can hold a camera perfectly still for 30 seconds. However, I have seen makeshift tripods out of all sorts of miscellaneous items if you’re creative. As long as the camera doesn't move at all, then you're all good!
Finally, if you have a shutter release this can also be really handy. It’s not essential though and, if you don’t have one, I recommend just using the 10 second timer most cameras have.

The settings to get you started.
First of all, you need to be in Manual control of the camera.
Shutter Speed: If you want to shoot nice crisp clean stars, you need to use a long shutter speed. However, due to the rotation of the earth, a shutter speed that is too long can result in star trails as opposed to single sharp stars. I use the commonly known 500 rule to establish my shutter length. If it doesn’t give you a very long exposure, then you can also use the 600 rule (it’s slightly less sharp).
For full frame cameras:
500 / Your focal length = shutter speed
16mm Lens on Full frame - 500/16 = 31 Seconds
For crop sensor cameras (Canon Crop 1.5x , Nikon Crop 1.6x):
500 / You're focal length x crop size = Shutter speed
16mm Lens on Canon Crop Sensor - 500 / 16x1.5 = 20.8 Seconds
I normally just round down to the nearest shutter speed preset available.

Aperture: As wide open as possible that your lens can go. Preferably, we are looking at under f4.5. The easiest way to find out is to select aperture and scroll to the lowest number possible.
ISO: High ISO introduces noise but unfortunately, without it, it’s virtually impossible to shoot stars. The ISO is controlling the digital sensitivity of the sensor to light. By increasing it, you introduce a lot more light into the photo and you see more stars. Personally, I don't shoot any higher than ISO 3200 and then I will use noise reduction in post processing. Some cameras also have built-in noise reduction that will help reduce the grain/noise in the image. To get enough light into a crop sensor camera, sometimes the only option is to shoot at a higher ISO. In that scenario I would use up to ISO 6400.

So you have some basic camera settings - what now? Stability.
It is essential to have the camera perfectly still while shooting long exposures of stars. A tripod with shutter release is the winning combination. Make sure your tripod is strong enough to support your camera and make sure it's connected firmly. If you have a shutter release, that’s perfect because you don’t need to touch and wobble the camera when shooting. If you don’t have one, then use the self timer. I have a wireless remote because it makes shooting alone even easier, especially if I want to feature in any of the photos!
Ok Focus, only a few more points.
Focusing: It can be really hard at night but you want to be focusing to the infinity point of your lens. If you have measurements, then it’s represented by the little figure of 8 type symbol. If not, then it is when your focus ring is turned all the way in the direction when focusing on things in the distance. The actual infinity point though is not right at the end, it’s just before it. So just turn it back a touch. Some lenses even have a line to mark the actual point. All lenses are different and, from experience, I’ve learned that my infinity point is just off the line. Play around in the daylight and try to focus on the furthest away object you can. You can even use the live view screen and use 10x magnification to help you even more. At night, try the same approach but focus on a light in the distance or a very bright star.

Composition: Once you have figured out the basics and can get some stars in your photos, then composition is key to turn these skills into a cool photo. If you have a subject in the foreground, try using small amounts of light from the outside of a torch to highlight for a few seconds. If you want to shoot an interesting landscape then consider shooting with a setting or rising moon behind you to illuminate the landscape for you. The beauty of shooting at night is that you can let your creativity can run wild and, consequently, you can end up producing something completely different very easily.

Got a great image on the camera screen and want to show it off to your friends?
It is no secret that post-processing makes up a large part of astrophotography. I have self-taught myself to edit with Lightroom over time. I will also use a bit of photoshop. Generally speaking though I bash out an astro edit in 5-10 minutes, so it’s not as daunting as it sounds. I recommend getting on YouTube and watching some editing videos to give you a better insight into the process. However, it’s all about personal taste and representation, and you’ll find that everyone edits very differently. This contributes and somewhat defines different photographers’ styles. Most importantly though, if you want the ability to edit, you really need to shoot in RAW. RAW files contain considerably more data than a JPEG, giving you a more larger ability to change information at a later date.
So there you have it - a small introduction into astrophotography from me. It may only be the first stepping stone but will hopefully help out a few people in learning to shoot at night. So next time you are out camping, hiking or even driving through the countryside at night, have a go at shooting the stars!
For the rest of the year, I will be travelling around Australia, photographing the beautiful landscapes and as much of the fantastic star-filled sky as possible. If you want to check out my work, simply look me up on multiple social media platforms:
If you have any questions about my blog or want to learn more then contact me through social media.
T-Rex